目录:
一、驱动安装
二、keil5.17中工程添加用户代码的问题
三、点亮板子led3实验
四、串口函数的使用
五、定时中断的使用
六、外部触发中断
七、rcc使用
八、rtc
九、ad转换
十、systick
十一、spi
十二、da
十三、i2c
十四、堆栈值设置
十五、低功耗
附录1:stm32l476时钟树
附录2:自定义usart_printf
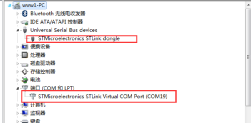
1.开发板利用miniusb串口线连续到计算机中,板子上的跳线都不需要动。
2.链接后会提示安装驱动程序,需要两个重要的驱动,(1)st_link驱动(2)虚拟串口(usart2)驱动。
3.下载地址
http://www.stmicroelectronics.com.cn/web/en/catalog/tools/pf260219#,下载版本为stsw-link009
原来有论坛提供的版本是stsw-link008和单独的虚拟串口驱动,都有问题,不能够使用。
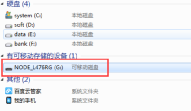
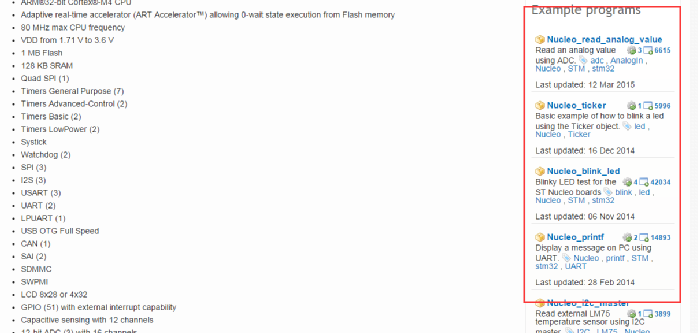
4.在线例子,点击我的电脑中的硬盘,找到网页,点击,进入在线帮助网站
https://developer.mbed.org/platforms/st-nucleo-l476rg/

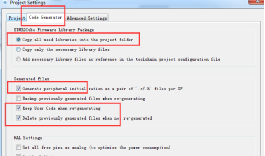
利用cube生成完工程后,会产生基础的库文件,用户在此工程文件的基础上添加代码。但是用户往往会修改自己的硬件配置,这个时候需要重新生成库文件,如果用户把自己的代码写错位置了,就会被删除。要想不背删除,需要如下的操作。
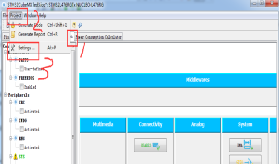
1.先配置cube的产生代码的选项。
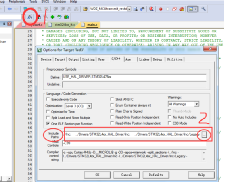
2.keil程序的代码的位置
添加.h头文件方式,先设置编译路径,然后在文件中user code直接引用头文件,这样再次利用cube生成代码就不会删除用户的头文件
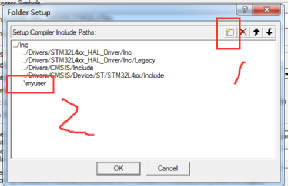
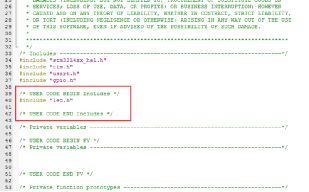
添加普通的执行代码也需要放在注释user code代码直接,切记!!!

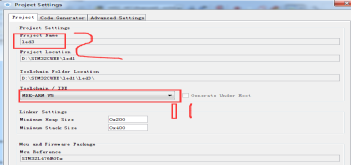
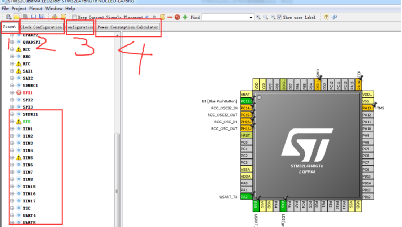
1.利用stm32cube 进行硬件的配置,步骤
先选芯片型号,然后配置基本管脚功能,然后配置时钟树,再进行功能参数的详细配置,最后计算功耗,如下图所示
2.stm32l476rgt开发版,led灯链接的时候pa5,默认虚拟串口是usart2.
3.点亮函数hal_gpio_writepin(gpioa,gpio_pin_5,gpio_pin_set);
4.也可以利用寄存器方案,推荐使用,置位复位、翻转
#define digitalhi(p,i) {p->bsrr=i;}
#define digitallo(p,i) {p->brr=i;}
#define digitaltoggle(p,i) {p->odr ^=i;}
#define led3_toggle digitaltoggle(gpioa,gpio_pin_5)
#define led3_off digitalhi(gpioa,gpio_pin_5)
#define led3_on digitallo(gpioa,gpio_pin_5)